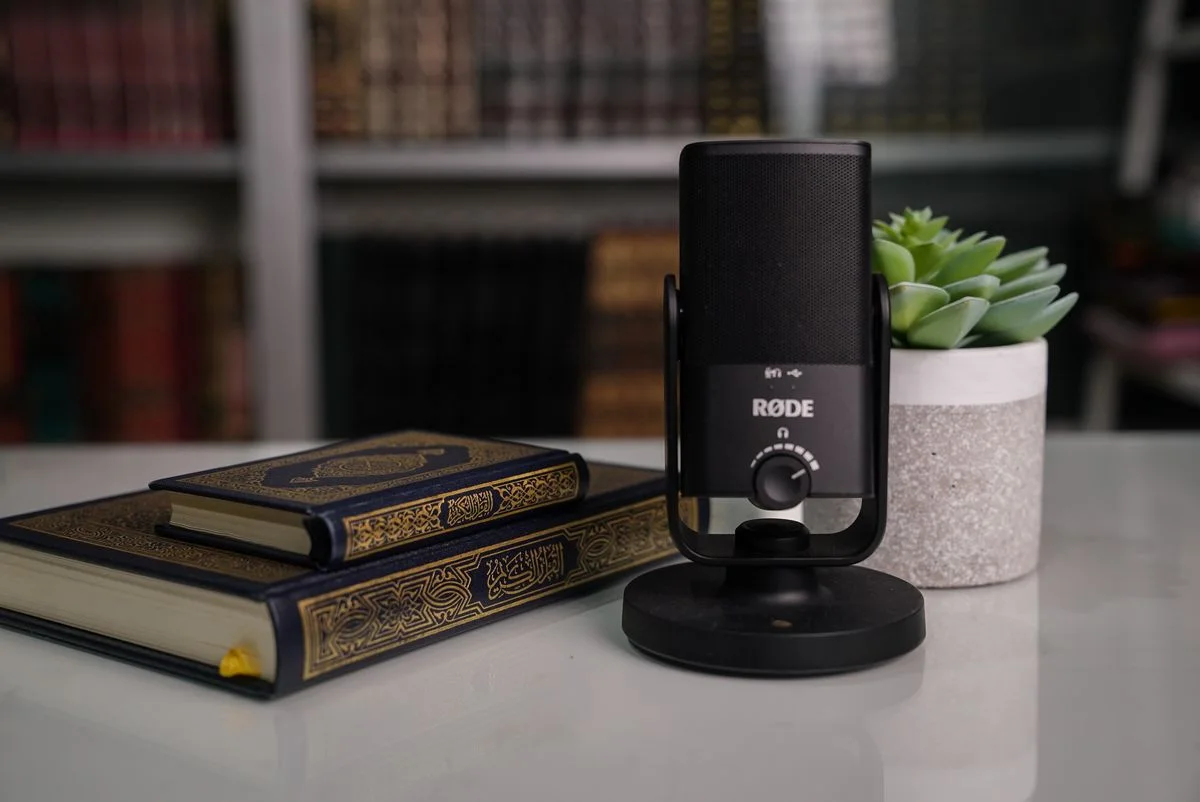
A microphone for everyday calls should make speech easy to capture without taking over the desk. A large studio-style model can look capable but still sound distant if it sits too far away or points in the wrong direction. Begin by checking the microphone you already have in your laptop, webcam or headset. Then identify the actual problem: distance, room noise, awkward controls or a connection issue. A carefully placed simple microphone may be a better purchase than a more elaborate recording setup that your calls do not require.
Improve placement before shopping
Make a short recording in the normal room and listen for the problem you want to solve. Shure's placement guidance explains that reducing noise at its source or bringing the microphone nearer to the talker can improve intelligibility. Check the recommended distance and speaking direction for your current microphone. A side-address model and an end-address model need different positioning. Moving a suitable existing microphone may provide a useful improvement without purchasing another device.
Choose the supported connection
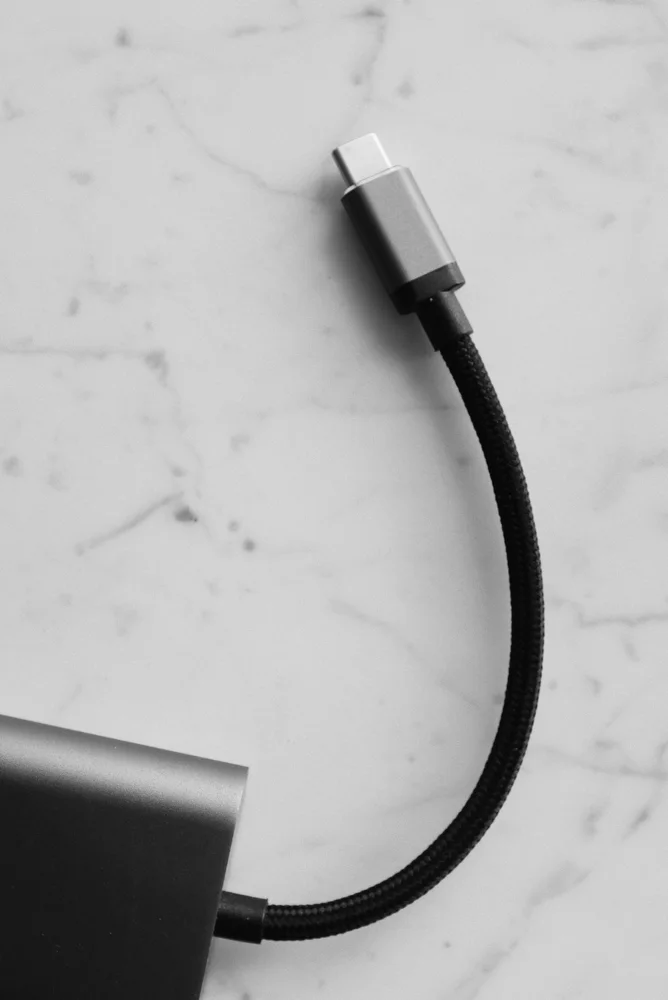
Check whether the microphone connects directly by USB, requires an audio interface or uses another documented method. Verify operating-system and application support, and include any adapter or cable in the total price. A connector match does not establish every software feature or mobile-device function. For a managed work computer, confirm whether drivers or control software can be installed. A simple supported USB or headset arrangement may be more practical than an interface-based system for routine meetings.
Plan a stable speaking position
Compare a desk stand, boom arm or headset with the way you sit and move. A stand needs room near the speaking position, while an arm needs an appropriate mounting point and clearance. Check weight and attachment compatibility before pairing separate components. Keep the microphone from blocking the screen or forcing you to lean toward it throughout a call. A reachable mute control is useful, but confirm how it interacts with the application's own mute state.
Test the normal call workflow
Select the intended input and output devices in the application and make a test recording or call using its available tools. Check speech at your ordinary volume and position, including typing or moving a chair if those happen during meetings. Do not judge the microphone from a single loud sentence spoken unusually close. Read storage and cleaning instructions and keep its cable route manageable. The best result is a repeatable setup you can use without adjusting several controls before every meeting.
THE USEFUL TAKEAWAY
For everyday calls, clear placement and a supported connection matter more than studio equipment. Diagnose the existing setup, then choose a microphone that can stay near the normal speaking position without crowding the desk. Verify it in the actual application and keep the controls simple enough for repeated daily use.
Further information
Manufacturer and official references for the details discussed. Check instructions for the exact product you are considering.